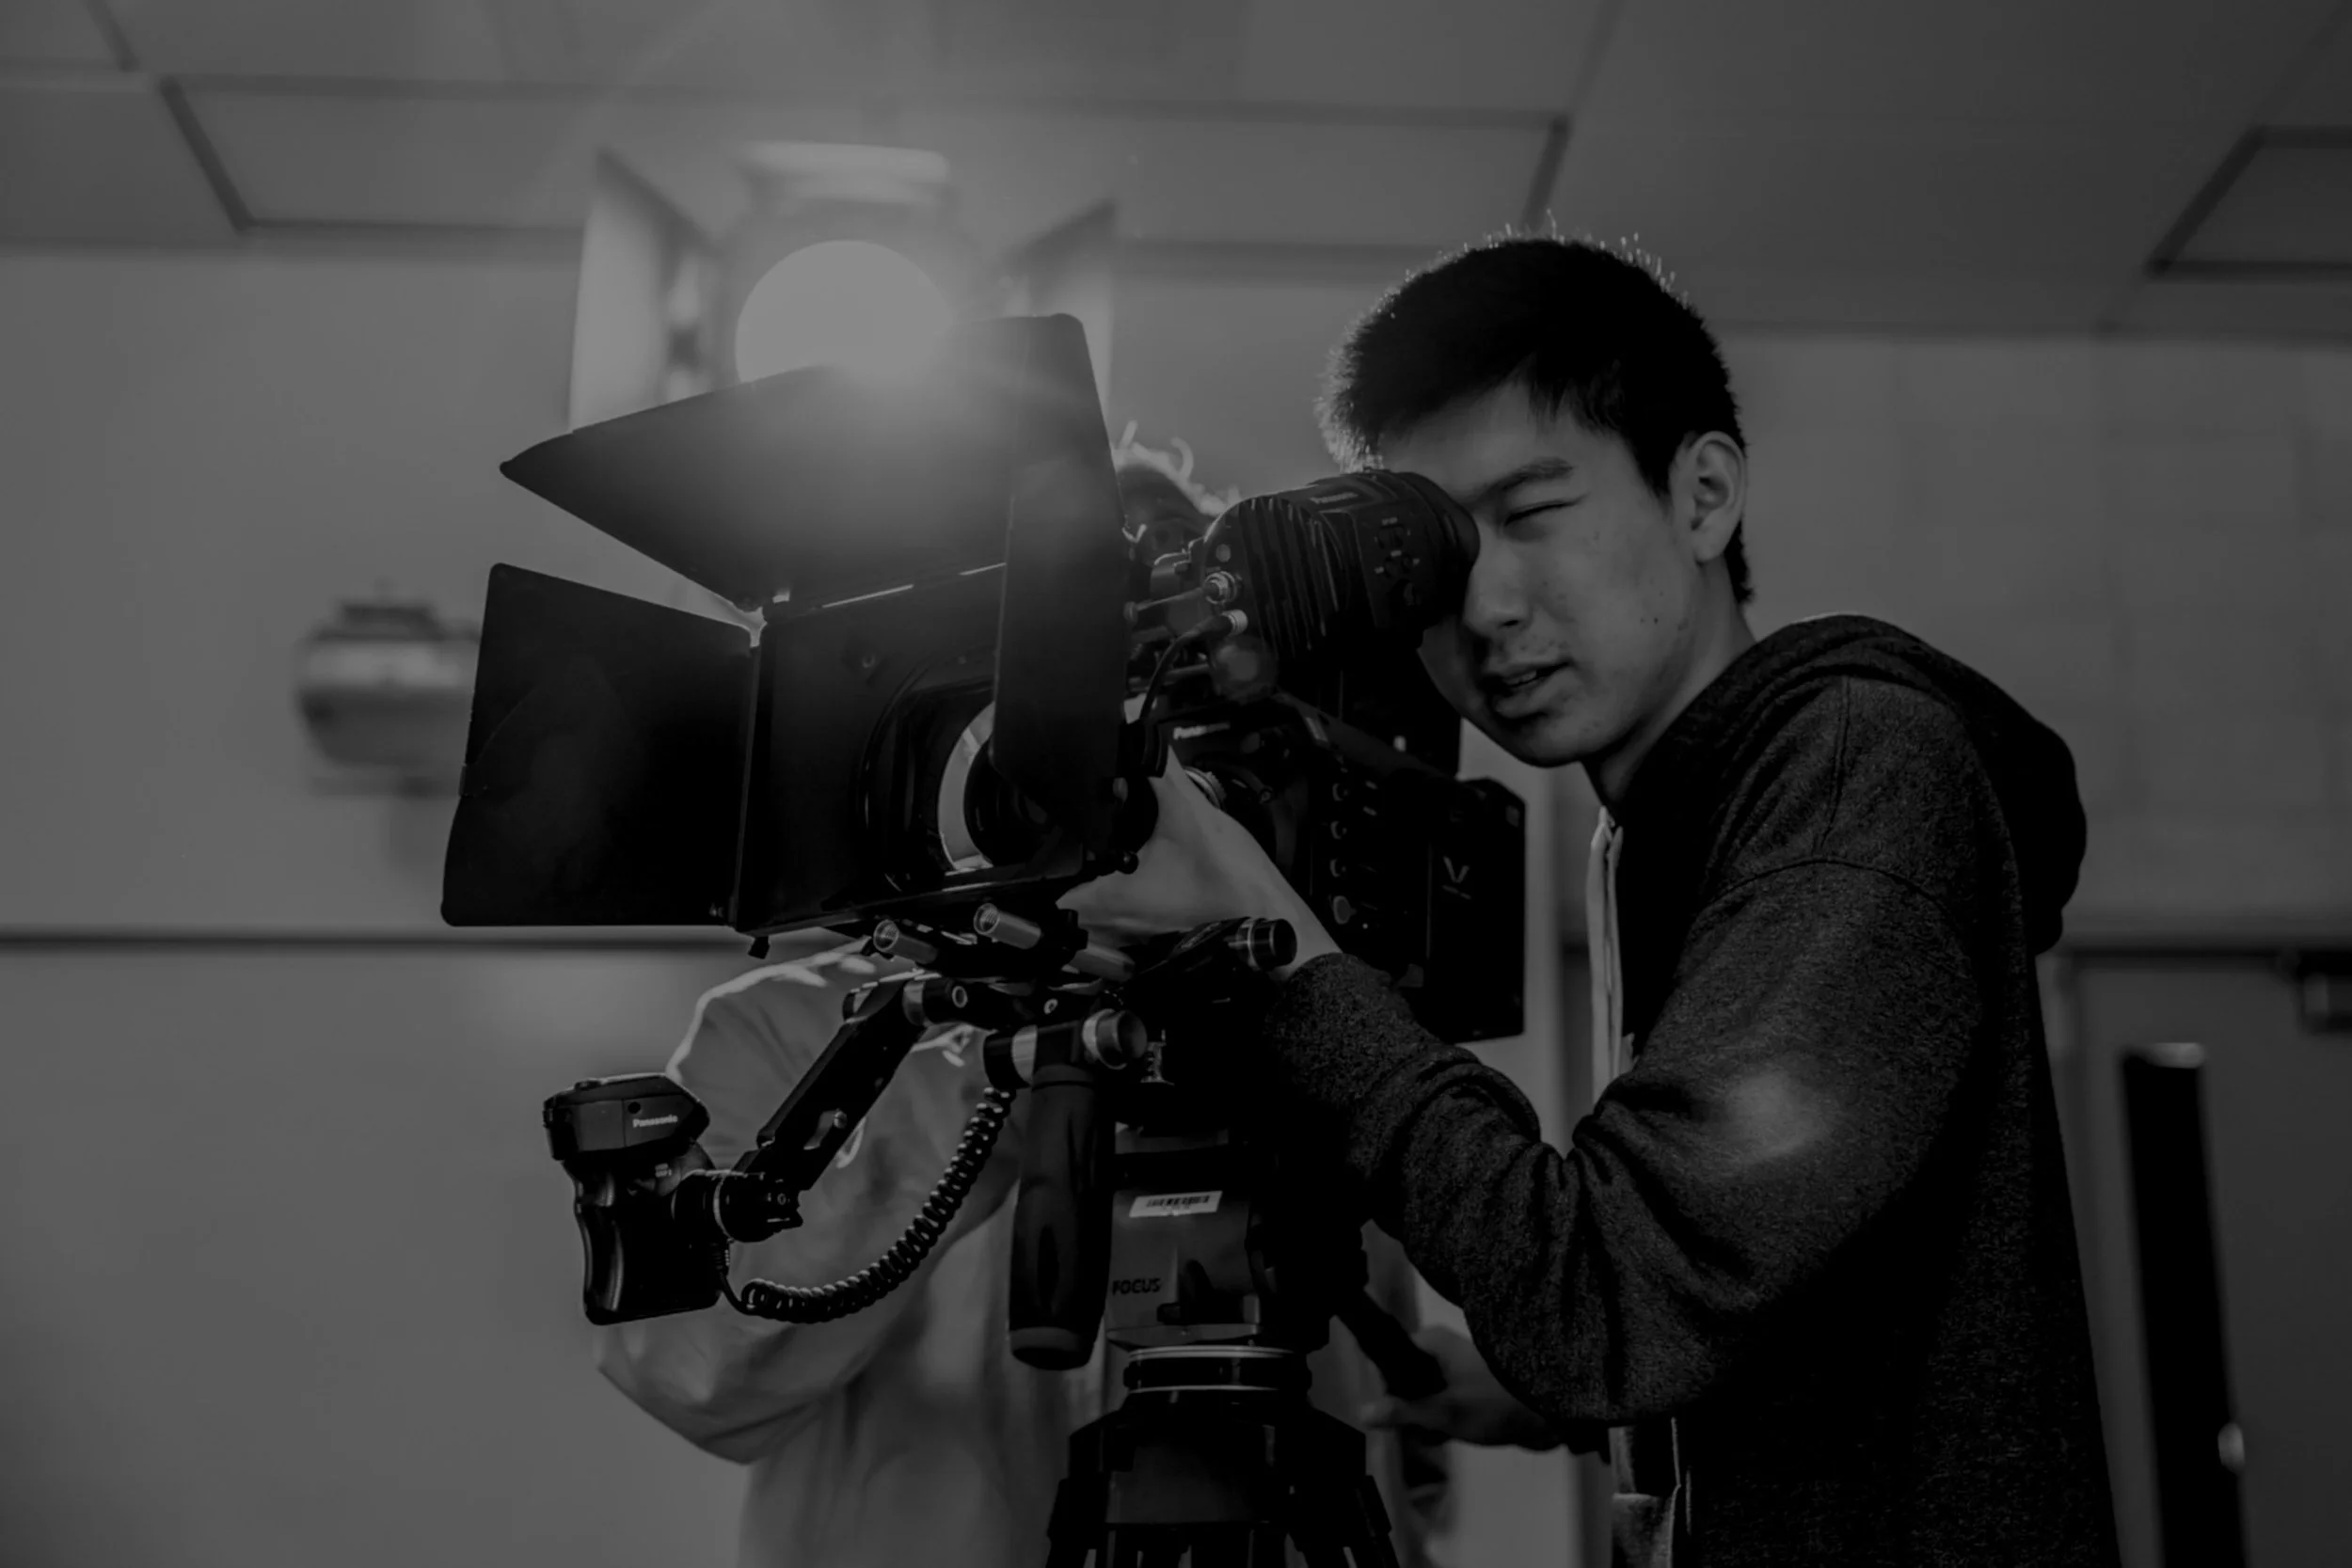
Record-and-Release Videos for Internal Communication
Made for APSI Construction Management internal use only
Legal & Copyright
This guide and its contents are proprietary to Pan Visuals and are provided solely for the internal use of the client. Unauthorized distribution, reproduction, or sharing of this document or any of its contents, in whole or in part, without prior written permission from Pan Visuals, is strictly prohibited.
© 2025 Pan Visuals. All Rights Reserved.
Recording
Setup Camera & Lighting
Format: 4K UHD (3840×2160) at 30 fps
Exposure:
ISO: 200–400 (adjust based on room light)
Aperture: f/4–f/5.6
Shutter Speed: 1/50 sec (double your frame rate)
White Balance: Auto or set manually to match your lights at 5600K
3‑Point Lighting Setup:
Key Light: Brightest light, 45° to subject’s front—use a soft LED panel or COB
Fill Light: Opposite side, lower intensity to soften shadows—use a soft LED panel
Back (Hair) Light: Behind subject, aimed at shoulders to separate from background—use a small LED panel
Editing
1. Create your Project & Import Footage
Open Premiere Rush
Click the + button in the upper‑left → Add media → Browse files
Navigate to your talking‑head clip → select → Create
Rush will build a timeline with your clip on Track 1
2. Start with Full‑Screen Talking Head
In the timeline, make sure your clip begins at 0:00
Select the clip
No other clips above it yet → this ensures a clean, full‑screen intro
3. Capture & Add Your Word‑Doc/PowerPoint Screenshot
Capture screenshot:
Open the Word doc or PowerPoint slide
Press Win + Shift + S → draw to capture → opens in Snipping Tool
Click Save (top bar) → choose location (e.g. PNG on Desktop)
Import into Rush:
Click + → Add media → Browse files
Select your saved screenshot → Add
Drag the screenshot clip onto Track 1 and move the talking head video above it.
4. Layer & Resize Your Talking Head (Picture‑in‑Picture)
Drag the same talking‑head clip (or a duplicate) onto Track 2, above your screenshot.
Select the top clip → in Transform, click and drag its blue handles in the Preview window to shrink it (25% width is a good start).
Drag the shrunken clip into the bottom‑right corner of the frame.
Fine‑tune Position X/Y in the Transform panel so it sits exactly where you like.
5. Adjust Exposure for a Brighter Look
Select the clip (Track 1, 2 or 3, wherever you need it)
Click the Color tab in the top‑right panel
Under Adjustments, find Exposure
Drag the slider right to brighten, left to darken
(Optional) tweak Contrast or Highlights for polish